sourdough, real talk.


technical info / nerd shit


you should know whats up

sourdough.

  • when you start looking into the science of anything really, it gets a bit mad. but if you are interested in mastering your craft, its useful to know some hard facts and how things work.

fermentation.

  • yeast and bacteria are already present in the air & flour.

as wheat flour hydrates, the enzyme amylase breaks down the carbohydrates into sugars, which are then broken down further into glucose and fructose, which are food for the wild yeast to begin fermentation. there are two types of fermentation here, aerobic and anaerobic.

aerobic.

  • This type of fermentation produces carbon dioxide, which is what makes the starter bubble and full of life.

anaerobic

  • This produces alcohol, which separates to the top of the starter, sometimes called ‘hooch’.

*mixing your starter well when feeding will help aerate it and dissipate the co2 on the surface.

**fun fact: yeast fermentation also produces traces of ‘glutamate’, a component of ‘MSG’, adding a more savory depth of flavor.

  • ‘lactobacillus brevis’ is the chemical name of the lactic acid present during this type of fermentation. This is what creates the acidic note to your starter, while the yeast provides the leavening action for the dough.
  • the bacteria consume glucose and produce lactic acid, so it generally has a lower ‘ph’ than bread made with commercial yeast. (it creates an environment unfriendly to pathogenic bacteria).

*chlorinated tap water should be avoided when possible, it will inhibit yeast action.

  • unbleached flour provides a better raw material for a starter. for example rye flour contains more nutrients and sugars for the yeast to feed on, and this flour can be phased out later.
  • when creating your starter, mix vigorously or blend to encourage aerobic fermentation.
  • 20-22 degrees is the ideal storage temperature for your starter to thrive.

*starter can be frozen or dehydrated for storage, and can be revived at room temperature with regular feeding.
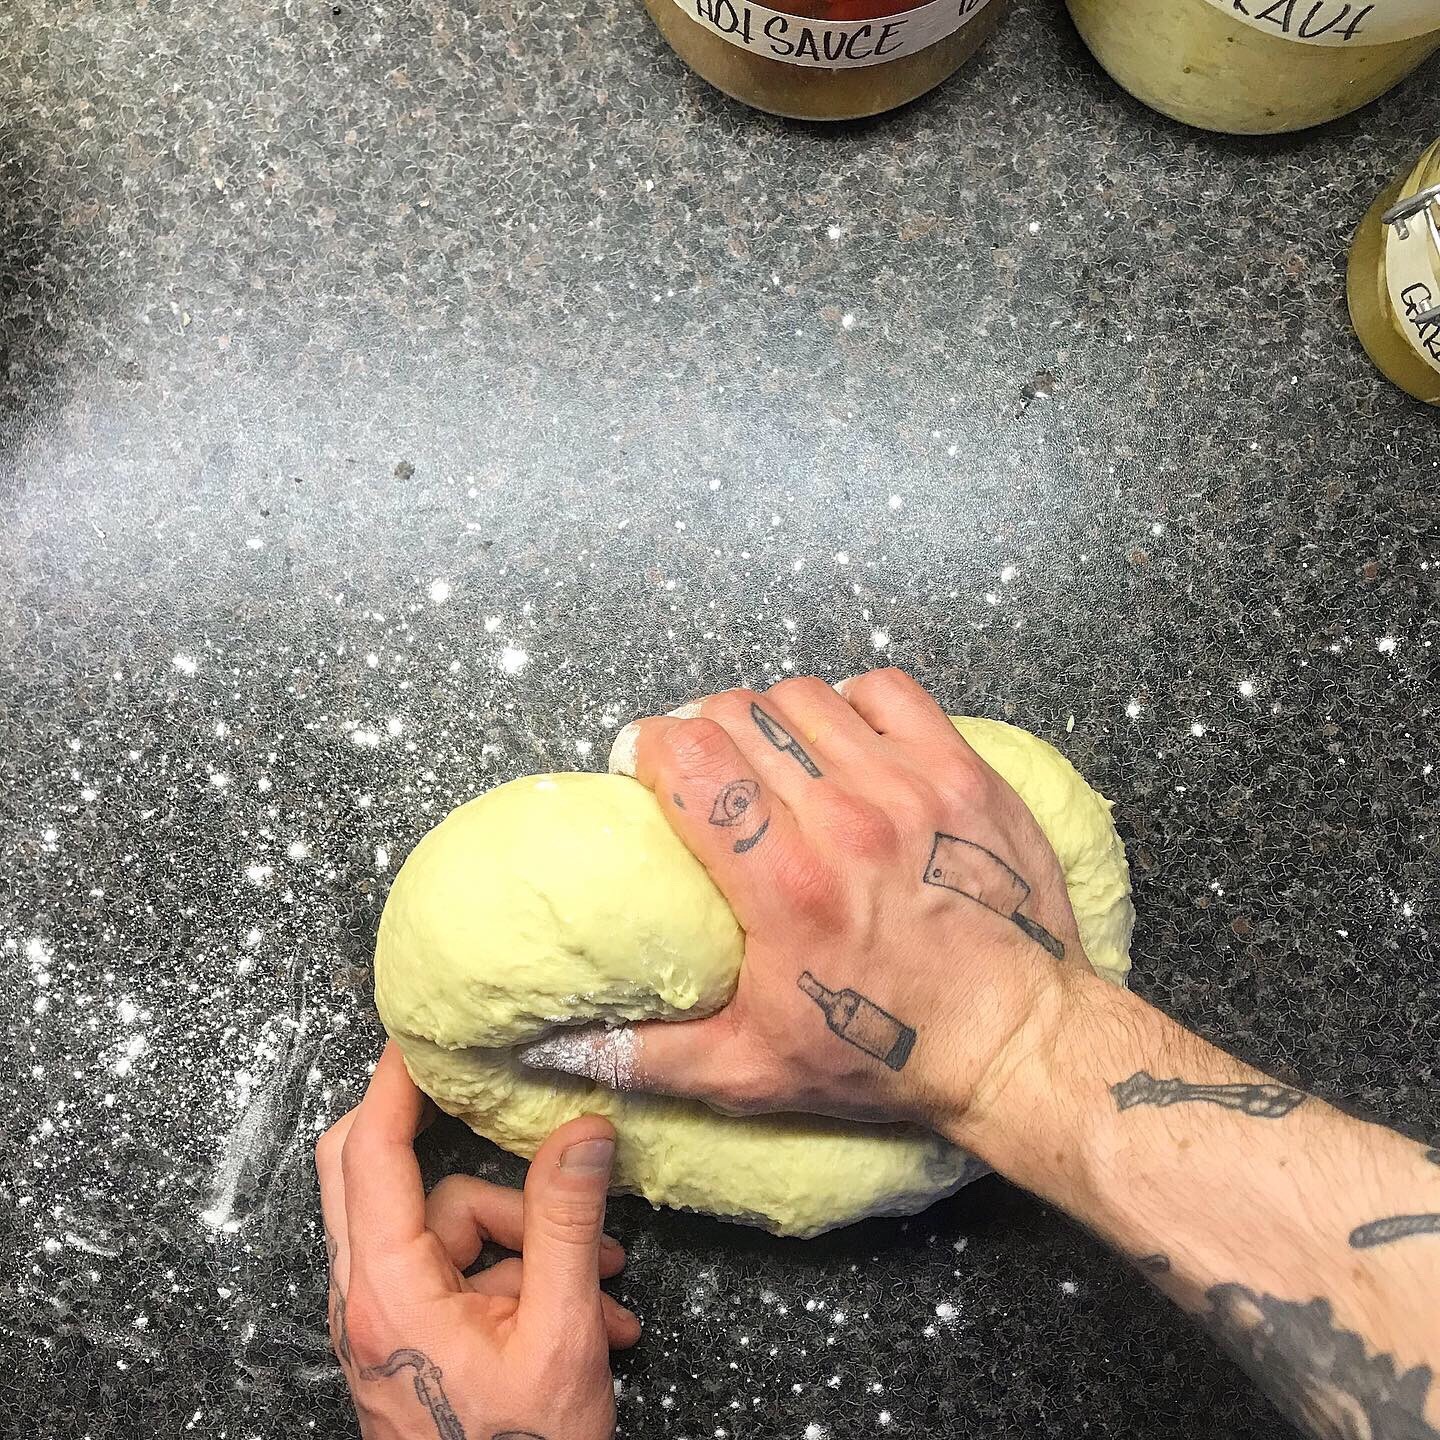
autolysing

  • a fancy word for hydrating your flour, before adding your starter/yeast. an important step for incorporating air into your bread, but you only really need to know the official word if you want to show off on instagram that you are baking all sorts of delicious hydrated goods and shit.
  • this involves mixing your flour and water together and letting it rest, before adding your leavening agent and salt.
    • flour absorbs water, activating enzymes that stimulate proteins to begin gluten development. 
    • starch is also converting to sugar that will feed the yeast during the bulk proof. *this will reduce kneading time, and prevents over oxidized dough that can affect colour, flavor and texture.
  • if you have a higher percentage of whole grain flour = longer rest time.

*when using stoneground flour, be aware of extra moisture, coupled with larger microscopic starch, which has a slower hydration, increasing more gluten and bonds


hit us up with any issues


bread&broth.


chapter one: bread.


sourdough bread.

bread is one of the most ancient foods in history. creating bread from a culture of wild yeast has been done for thousands of years, but it lost its touch to commercially produced bread, full of preservatives and lacking many of the nutrients and flavours that made bread so damn good.

so that is why we are here. to take it back to basics. we will guide you through cultivating your own sourdough starter and maintaining it at home, to baking different loaves and various other goddamn delicious shit.

get up, grab a bag of flour, pick your favourite spoon, crack open a bottle of merlot and get that bread $.


your own starter: day one


sourdough bread, day one.

an active culture of wild yeast, which under your control can produce serious baked goods.

you need:

• (1) a glass jar, kilner brand preferably. when working with fermentation, good quality is essential.

• (2) water, a spoon/spatula, kitchen scales, a pen and paper, and flour.

• (3) weigh your jar without the lid.

• (4) write down the weight of the jar in a notebook, tell it to siri, or text it to your ma, it will make your life easier to know it.

• (5) flour. important. you cannot use bleached flour to create a sourdough culture, some bacteria will need to come from the grain itself, get yourself some wholewheat, rye, strong bread flour or unbleached white flour to kickstart things, different flours can be phased out later.

>weigh out 50g of your flour, and add it to your jar. *write this in notebook

• (6) weigh 75g of warm water, if you want to nerd out try and warm your water to around 29 degrees, but it’s not necessary at this stage for you at home. * write in notebook

• (7) pour the 75g of warm water into the jar of flour.

• (8) mix vigorously, preferably with a rubber spatula, a spoon will work if you are careful, I use this spoon because it’s sick af. mixing vigorously helps aerate your starter and get things moving

. • (9) a good jar comes into play here. you need a loose fitting lid, as the fermentation process will release gas which may pop, and you don’t want to be cleaning that up hangin on a Sunday morning.

• (10) screw or close the lid loosely, and place somewhere at room temperature, not too warm, for 24 hours. many factors such as bubbles, smell, alcohol and observing how your culture reacts is all coming soon, this is a simple introduction to get things going for you at home. tomorrow we will explore the first ‘feeding’ of your starter, stay tuned. slide into our dm’s with any deeper questions about this, or life in general.


feeding schedule


staying alive


sourdough feeding schedule

day 1.

creating your starter. weigh your jar empty without the lid, note it.

  • 50g flour. (wholegrain, rye, strong bread flour, unbleached flour)
  • 75g water, warm. (ideally 29 degrees C)

mix vigorously until no dry flour remains, leave for 24hrs after every feeding.

day 2.

the first feed.

  • 30g ‘mature’ starter. (jar weight +30g total) discard the remaining starter.
  • 50g flour.
  • 60g water, warm (29 degrees).

day 3.

  • feeding is the same as day 2.

day 4.

now we reduce the water ratio slightly.

  • 30g ‘mature’ starter.
  • 50g flour.
  • 50g water, warm. (29 degrees)

day 5.

  • feeding is the same as day 4.

day 6.

now we reduce the starter slightly.

  • 25g ‘mature’ starter.
  • 50g flour.
  • 50g water

day 7.

baby we did it. this is your last feeding before its ready to use to bake some bread. this can also be used as your maintenance feeding going forward, depending on how often you plan on baking.

  • 15g ‘mature’ starter.
  • 50g flour.
  • 50g water, warm (29 degrees).

if you plan to be baking and slinging bread quite regularly, keeping your culture at room temperature (around 22-24 degrees) is a good idea. in colder environments there is a slower speed of fermentation so you may need to wait longer in between feeds, but its totally fine to pop it in the fridge and feed it every week or so, we understand people get busy, its all good. but it is about learning to observe how your personal culture is reacting to its environment and reading the signs as to what it needs, and when, which will come in time.

if you require any more information or are having problems about your starter, slide into our DMs on instagram.

.

.

sourdough, day two.


feeding


24h.

sourdough, day two.

its been 24hrs since you mixed your starter culture, time to take a look. smell and sight are your tools to learning how your culture behaves, and you will learn the reactions of your own starter depending on the conditions it lives in, such as the temperature of where you store it. we now ‘feed’ the culture on a regular basis to build activity and help fermentation.

  • (1) take a look. is there any bubbles? if so, you are ballin. if not, don’t worry at all, you will see some activity very soon if you follow these steps correctly. 

  • smell your starter, it may still smell like ‘wet flour’ but soon the aromas of fermentation will appear, with sour, yeasty and alcoholic notes, which is your culture indicating to you what it needs, and we will learn how to read these signs along the way, for now just mentally clock or write down (good habit) the general smell.

  • (2) weight out 30g of your starter mix, we call this the ‘mature’ starter as the bacteria has been at work developing, and we want to keep this moving. if you recorded the weight of your jar, you can add 30g on to the total weight, and leave that much remaining starter in the jar, I will post additional photos of this method. i like to mix mine in a bowl, and clean the jar before placing back inside, it’s a good habit and looks way fuckin cooler in your kitchen when it rises. the remaining starter mix after taking 30g must be discarded at this stage, as your culture develops you can use this excess starter for many things which we will explore, but at this building stage it’s better to get rid of it.

  • (3) weigh 60g of warm water and add to your starter. it’s a good idea to add your water before the flour and give it a quick mix, it just makes it easier, real talk.

  • (4) add 50g of your flour with a designer spoon. 

  • (5) mix her up, treat her well.

  • (6) when no dry flour remains and everything is mixed evenly, bang you are done for today.

  • (7) add back to your cleaned jar if you removed, and/or close the lid of your jar, and throw back in that room temp spot which will be its home for another 24 hours. 

  • this is kept as simple as possible to help you get things poppin at home, but if you want more info on some technicalities, hit us up.
  • we will post a feeding schedule for the first week which you can refer to if your timeline isn’t the same as ours here, shit happens and people are busy, we get it, it’s all good baby. Hit us up or tag us in some photos of your starter / bread / dog, we’re always down for that.